
Welcome to my 3-part series for beginner stampers. Stamping basics can be boiled down to the Acronym S.I.P. which stands for Stamps, Ink, Paper.
Today I am giving you S.I.P. Part 1 So let’s talk about STAMPS.
Most people are familiar with stamps that have been used in offices for years, including stamps that say “COPY” or “PAST DUE”. Another type of stamp that is familiar is a carved rubber image that is mounted on a wood block and used to stamp a personalized name, address or other creative image. These common stamps are used with ink pads (often black or red) or can be bought as self-inking stamps. Of course, there are also postage stamps, but that’s a different type of stamp entirely.
The stamps themselves, and the creative use of them have evolved dramatically over the last 30 years. I am going to spend time introducing you to the 2 most commonly used types of stamps today which are made out of different materials but are used quite similarly.
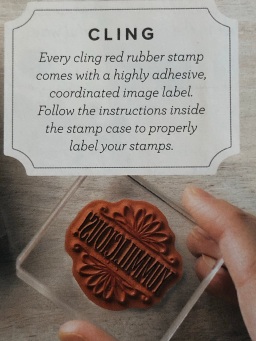
A Cling Stamp is manufactured from quality red rubber and has a cushiony layer attached to it. The stamps themselves come with super-tacky backing pieces which are attached to the stamps just like stickers. This tacky back-side is the side that grips onto a clear, acrylic block. The block is the easy-to-hold part that you hold when you are using the stamp. The brilliance of this system is that the cling stamps and acrylic blocks are interchangeable and a single block can accommodate a variety of stamps in many sizes. When using a Cling Stamp, mounted to a block, there is no other accessory that is needed in order to stamp your image. The cushiony layer provides just enough “give” that allows the stamp to come in good contact with the paper leaving behind a nice, clean, crisp image. To remove a Cling Stamp from the block, it very important to follow these simple steps so that the stamp itself does not tear and become ruined. First, work from a corner or edge of the image itself. Loosen the stamp, using your fingernail, to gently begin to pry it away from the block. Once you have it started, it will easily peel off the block. It is important not to pull or force the stamp off the block. Doing this will almost definitely tear the backing sticker and may damage the actual stamp itself.
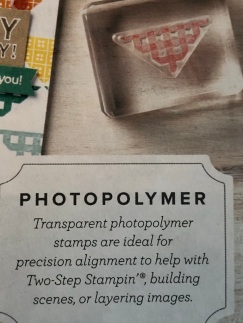
A Photopolymer Stamp (aka Clear stamp) is manufactured from a photopolymer material rather than red rubber. The wonderful element of clear stamps is that they are very flexible and clear! You can see through them and this aids tremendously in placement of the image. A photopolymer stamp is also pressed onto an acrylic block for use of the stamp. One thing that is missing from a photopolymer stamp is the cushiony layer. Often this does not affect the outcome of the stamped image. But depending on the stamp (and the user) it can leave either a partial image or one that is not very crisp. To easily remedy this, an inexpensive Stampin’ Pierce mat can be placed under your paper when you are going to stamp. This will allow the necessary “give” that will produce a crisp, clear image
Regardless of which type of stamp you will be using, you need at least one acrylic block in order to get started. Any size block is fine as long as it accommodates the size stamp you’ve chosen. You can use a larger block than necessary for the stamp, but not a smaller one obviously. Eventually it is very convenient to have a few blocks, in multiple sizes in order to allow your fastest and best stamping experience. A good size to start with is a D Block or an E Block From there, I would add blocks in this order: C Block, H Block, B Block The smallest size (A) and other sizes (F, G and I) can be added as needed when your collection grows or a particular stamp requires those sizes. If you are able, you can purchase a whole Set of acrylic blocks. By doing it this way, you save 10% over purchasing them individually.
Next, I’d like to tell you about cleaning your stamps. Whether you use photopolymer or Cling stamps, you will need to clean the ink off the images before switching to a different color of ink. You will also need to clean your stamps at the end of your stamping session so that you always put clean stamps away that are ready to go the next time. Never use harsh chemicals or solvents to clean the ink off your stamps. In truth, you only need plain water to clean your stamps. So an old, damp microfiber cloth, towel (lint-free) or rag will do just fine. But there are some inexpensive accessories that make the experience SO much better.

A Stampin Scrub is a reusable cleaning scrub pad with plush black fibers that really get into the grooves of the stamps.
A Simply Shammy is a reusable, thick shammy that cleans stamps very effectively with no lint and no chemicals. My favorite is the Simply Shammy as it cleans even in the narrowest grooves and the ink does not transfer to other stamps or to my hands. Some stampers prefer baby wipes (alcohol-free) but I find them not very cost effective, and the ink easily transfers off the wipe back onto your hands causing a real mess and potential transfer of ink from your fingers back onto your project.
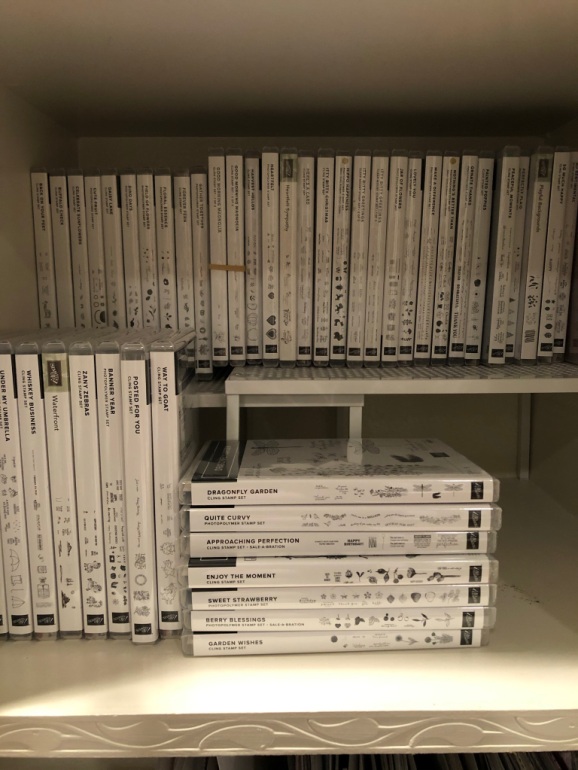
Storing your stamps is easy. You store them inside the cases that they come in. These DVD-size cases are easy to store upright like books on a shelf, or inside a drawer. It’s probably best to store them away from extreme heat/cold and out of constant direct sunlight. I’ve kept some stamps in my garage without any problem. But living in Southern California, the climate is mild and I don’t worry about extreme temperatures. The majority of my prized stamp collection is always kept indoors in my stamp studio – right within easy reach.
If you happen to have some older-style of stamps that are red rubber, mounted on wood blocks, you’ll use them just like the Cling stamps. No mat will be necessary. And cleaning those stamps is the same as I’ve already described. These may a little harder to store, as they may or may not have a case to live in. And the size of these stamps makes them a bit harder to store easily.
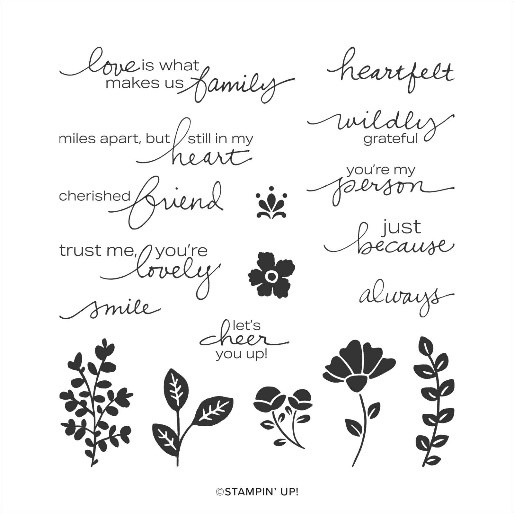
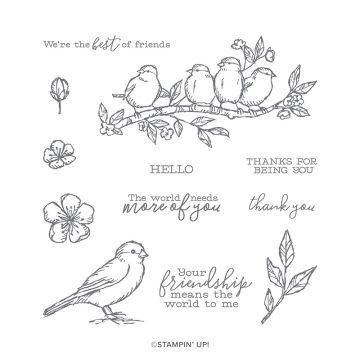
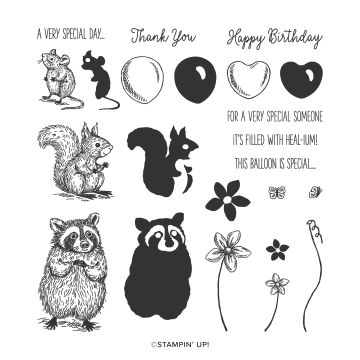
In closing, here are a few stamp sets, of each type, that I would suggest as good sets to start with if you just don’t know where to begin.


Check back soon to see Part 2 of S.I.P where I will cover the topic of Ink!!